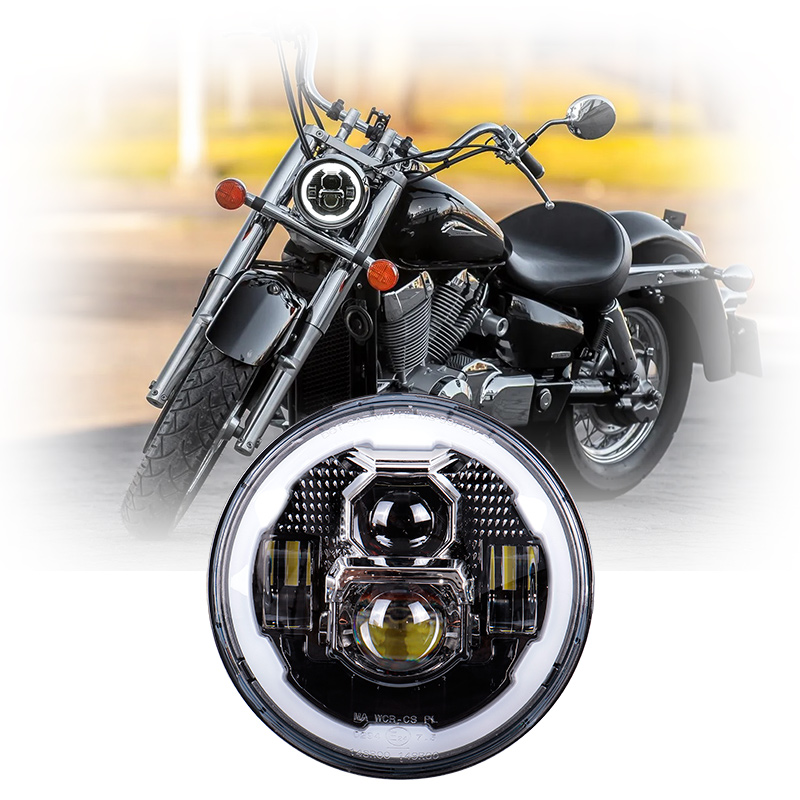
A complete lighting system failure on a Royal Enfield motorcycle where the headlight, tail light, and indicators all stop working can be frustrating and potentially dangerous. Fortunately, Royal Enfield electrical systems are relatively simple, especially on older carbureted or halogen-equipped models. With a systematic approach, you can quickly identify the source of the problem, determine whether it’s an issue of power delivery, wiring, switching, or a faulty component, and restore your motorcycle’s lighting safely. This guide covers the most common causes and practical steps for diagnosing a full lighting failure.

1. Check the Battery and Main Power Source
The first place to start is the battery, because all lights depend on stable DC voltage. Even models that originally used AC-powered headlights (such as older Bullets) still rely on the battery for indicators, brake lights, Royal Enfield headlight and the ignition system.
Key Checks:
- Inspect battery terminals for corrosion or looseness.
- Measure voltage using a multimeter; a healthy battery should show 12.4–12.8V when the ignition is OFF.
- If voltage drops dramatically when the ignition is switched ON, the battery may be weak or dead.
- Check the main ground connection to the frame.
If the battery or main ground is compromised, the entire lighting system may fail simultaneously.
2. Inspect the Fuses and Main Fuse Holder
Royal Enfield motorcycles include dedicated fuses for lighting circuits. A blown fuse is one of the most common reasons for a sudden blackout.
Steps:
- Locate the fuse box (usually under the seat or side panel).
- Look for:
- A blown main fuse (often 15A–20A).
- A melted or burnt fuse holder.
- Replace any blown fuses with the exact same amperage.
If a new fuse blows immediately, you likely have a short circuit, which requires further inspection of wiring and connectors.
3. Examine the Ignition Switch and Kill Switch
The ignition switch distributes power to lighting circuits. If it fails, no power reaches the Royal Enfield lights.
Symptoms of a faulty ignition switch:
- No lights, no horn, sometimes no instrument panel.
- Lights flicker when the key is jiggled.
- Only some circuits work while others remain dead.
The kill switch mainly affects the ignition system, but on some models, it also influences accessory power. If dirty or worn, it can interrupt lighting power as well.
Spraying contact cleaner into both switches can temporarily fix poor contacts, but worn switches may need replacement.
4. Inspect the Wiring Harness for Damage or Corrosion
Wiring damage is another major cause of total lighting failure, especially on older Royal Enfields that experience vibration and moisture exposure.
Check:
- Main wiring harness near the steering head
- Areas near the battery where wires can rub against the frame
- Connectors under the fuel tank
- Exposed wires near the headlight bucket
Common issues include:
- Pinched or cut wires
- Melted or burnt connectors
- Corroded terminals (especially on Himalayan and Classic models ridden off-road)
A damaged ground wire can also shut down the entire lighting circuit.
5. Test the Rectifier-Regulator Unit
The RR unit converts AC to DC and stabilizes voltage. If it fails, you may experience:
- Battery not charging
- Lights turning OFF while riding
- Flickering followed by complete blackout
Use a multimeter to check:
- Charging voltage: should be 13.5–14.5V at 3,000 rpm
- Extremely high voltage (>15V) indicates overcharging
- Zero charging means a faulty RR unit or stator problem
A dead RR unit can drain the battery until every electrical system eventually fails.
6. Check the Stator and Lighting Coil
On certain Royal Enfield models—especially older carbureted Bullets car blog —the headlight is powered directly by the stator’s AC lighting coil. If this coil burns out:
- The headlight will fail.
- Battery-powered components may still work, unless the charging coil also fails.
Testing involves measuring AC output from the stator. A reading of zero indicates failure.
7. Inspect Individual Components If All Else Fails
If the main system checks out, test:
- Headlight bulb
- Tail light bulb
- Indicator relay
- Light switches on the handlebar
If none of these receive power, the issue is upstream—likely at the ignition switch or main harness.
Royal Enfield Motorcycles
Diagnosing a complete Royal Enfield lighting system failure requires a logical, step-by-step approach. Start with fundamental power sources such as the battery and fuses, then move toward switches, wiring, and charging components like the rectifier-regulator and stator. Royal Enfield electrical systems are simple compared to modern motorcycles, so with basic tools and patience, most problems can be identified and fixed at home. Understanding each component’s role not only helps you troubleshoot this failure but also prevents future issues, keeping your motorcycle safe and reliable on every ride.